Industrial Medicine BlogTactical Medicine Blog tennis elbow, treating tennis elbow APTSM Marketing 9/16/24 tennis elbow, treating tennis elbow APTSM Marketing 9/16/24 Tips and Tricks for Preventing and Managing Tendonitis Read More physical therapy, occupational therapy, industrial medicine APTSM Marketing 9/4/24 physical therapy, occupational therapy, industrial medicine APTSM Marketing 9/4/24 Conquering Carpal Tunnel: A Guide to Conservative Treatments Read More physical therapy, industrial medicine, industrial wellness, workplace wellness APTSM Marketing 8/21/24 physical therapy, industrial medicine, industrial wellness, workplace wellness APTSM Marketing 8/21/24 3 Tips to Improve Your Desk Setup Read More physical therapy, injury prevention, workplace wellness, industrial medicine, industrial wellness APTSM Marketing 8/15/24 physical therapy, injury prevention, workplace wellness, industrial medicine, industrial wellness APTSM Marketing 8/15/24 How to Decrease fatigue and reduce stiffness in 5 minutes. Read More physical therapy, sports medicine, sports physical therapy APTSM Marketing 8/7/24 physical therapy, sports medicine, sports physical therapy APTSM Marketing 8/7/24 Provider Spotlight: Ben Benesh PT, DPT, SCS Read More physical therapy, physiotherapy, occupational therapy, surgery APTSM Marketing 7/24/24 physical therapy, physiotherapy, occupational therapy, surgery APTSM Marketing 7/24/24 7 Tips and Tricks to prepare for surgery Read More APTSM Marketing 7/11/24 APTSM Marketing 7/11/24 Stay Safe While Water Skiing: 7 Tips from an Athletic Trainer and Physical Therapist Read More physical therapy, physiotherapy APTSM Marketing 6/19/24 physical therapy, physiotherapy APTSM Marketing 6/19/24 Should I be stretching or strengthening? Read More industrial medicine, wellness, tactical medicine, employee wellness APTSM Marketing 6/11/24 industrial medicine, wellness, tactical medicine, employee wellness APTSM Marketing 6/11/24 Quenching the thirst for knowledge, one employee at a time Read More physical therapy, physiotherapy, sports medicine APTSM Marketing 5/31/24 physical therapy, physiotherapy, sports medicine APTSM Marketing 5/31/24 Provider Spotlight: Dr. Will Hartmann, PT at Lawrence University Read More Newer Posts Older Posts
tennis elbow, treating tennis elbow APTSM Marketing 9/16/24 tennis elbow, treating tennis elbow APTSM Marketing 9/16/24 Tips and Tricks for Preventing and Managing Tendonitis Read More
physical therapy, occupational therapy, industrial medicine APTSM Marketing 9/4/24 physical therapy, occupational therapy, industrial medicine APTSM Marketing 9/4/24 Conquering Carpal Tunnel: A Guide to Conservative Treatments Read More
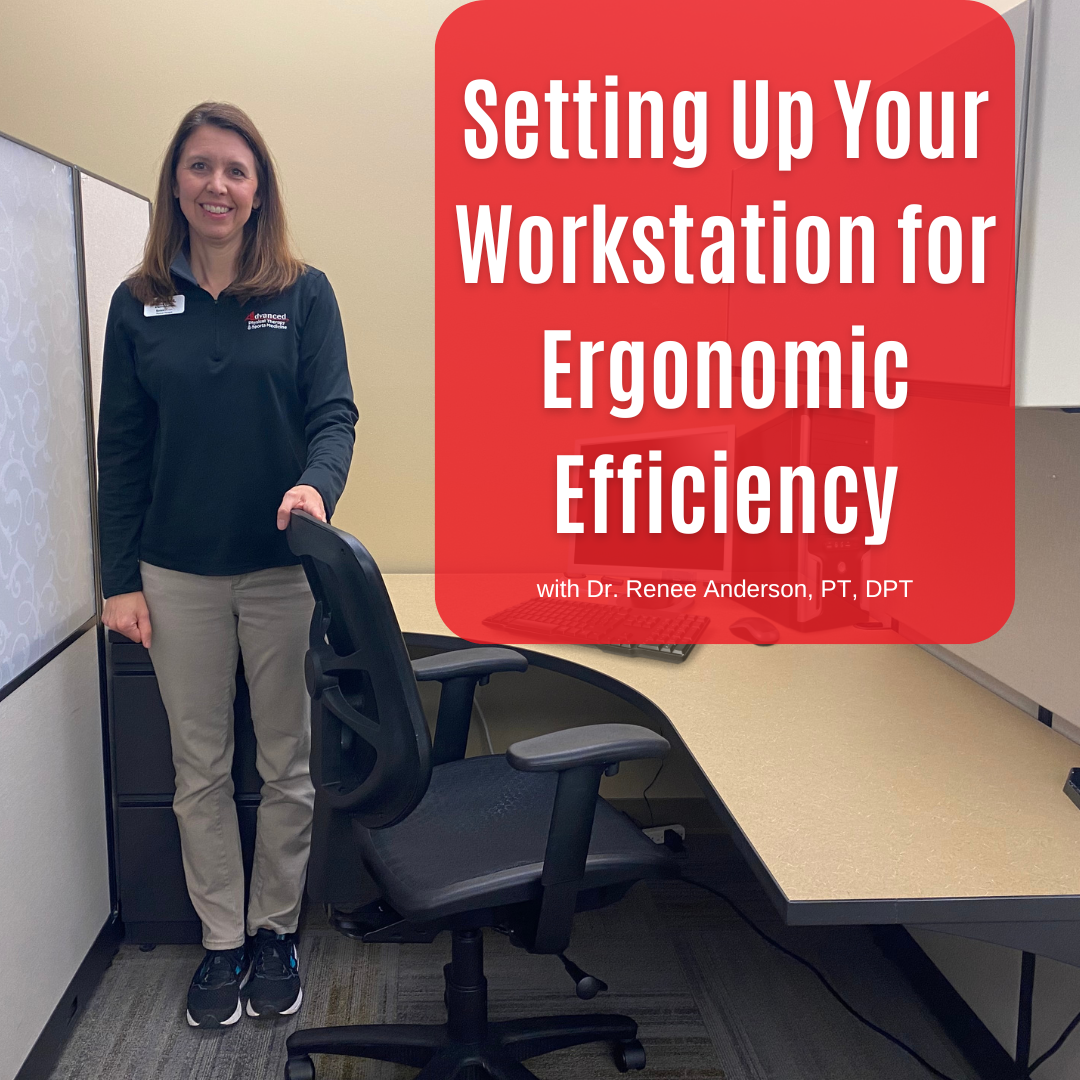
physical therapy, industrial medicine, industrial wellness, workplace wellness APTSM Marketing 8/21/24 physical therapy, industrial medicine, industrial wellness, workplace wellness APTSM Marketing 8/21/24 3 Tips to Improve Your Desk Setup Read More
physical therapy, injury prevention, workplace wellness, industrial medicine, industrial wellness APTSM Marketing 8/15/24 physical therapy, injury prevention, workplace wellness, industrial medicine, industrial wellness APTSM Marketing 8/15/24 How to Decrease fatigue and reduce stiffness in 5 minutes. Read More
physical therapy, sports medicine, sports physical therapy APTSM Marketing 8/7/24 physical therapy, sports medicine, sports physical therapy APTSM Marketing 8/7/24 Provider Spotlight: Ben Benesh PT, DPT, SCS Read More
physical therapy, physiotherapy, occupational therapy, surgery APTSM Marketing 7/24/24 physical therapy, physiotherapy, occupational therapy, surgery APTSM Marketing 7/24/24 7 Tips and Tricks to prepare for surgery Read More
APTSM Marketing 7/11/24 APTSM Marketing 7/11/24 Stay Safe While Water Skiing: 7 Tips from an Athletic Trainer and Physical Therapist Read More
physical therapy, physiotherapy APTSM Marketing 6/19/24 physical therapy, physiotherapy APTSM Marketing 6/19/24 Should I be stretching or strengthening? Read More
industrial medicine, wellness, tactical medicine, employee wellness APTSM Marketing 6/11/24 industrial medicine, wellness, tactical medicine, employee wellness APTSM Marketing 6/11/24 Quenching the thirst for knowledge, one employee at a time Read More
physical therapy, physiotherapy, sports medicine APTSM Marketing 5/31/24 physical therapy, physiotherapy, sports medicine APTSM Marketing 5/31/24 Provider Spotlight: Dr. Will Hartmann, PT at Lawrence University Read More